
Composting at Home: Turning Kitchen Scraps into Garden Gold
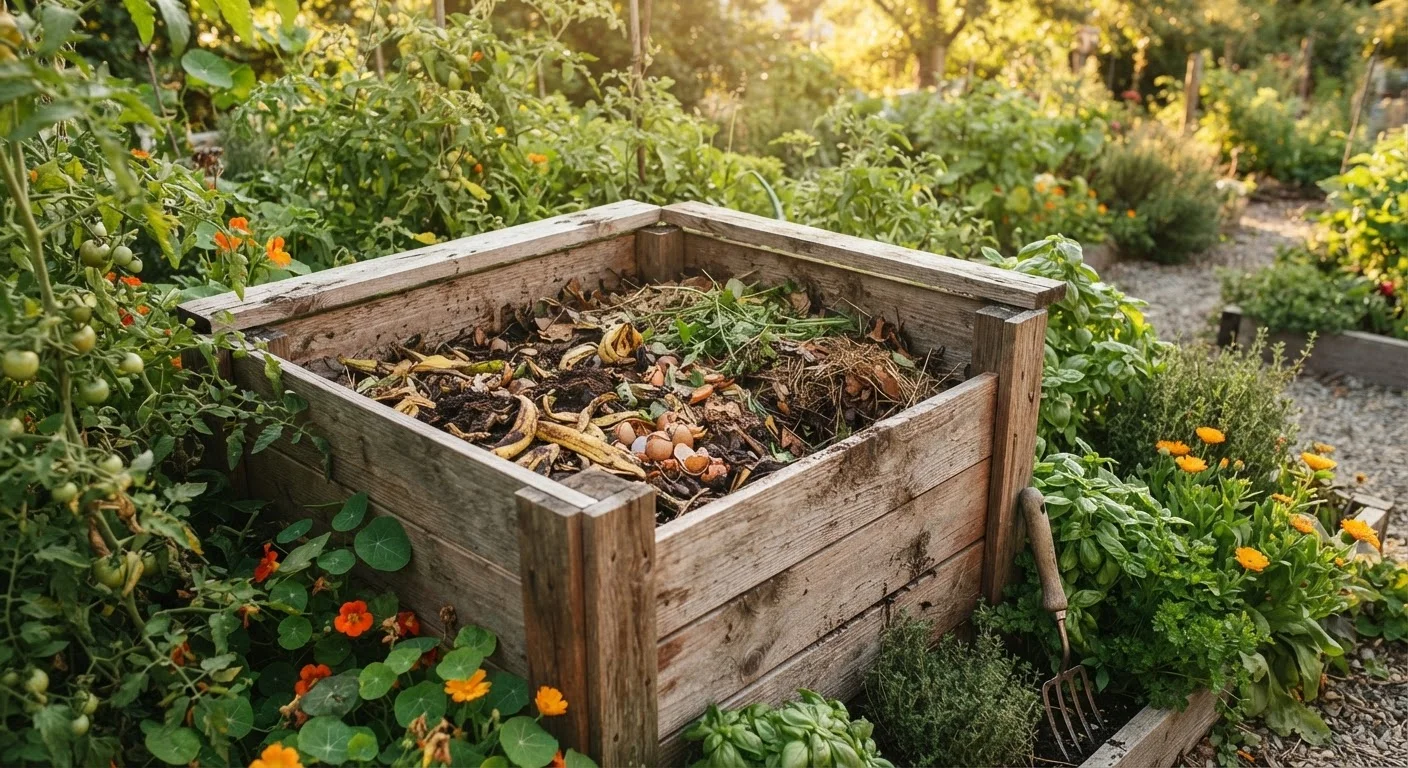
Photo credit: FaqBulletin.com | Information Made Easy
In this article
Step-by-step guidance on setting up a compost system, choosing the right materials, and using finished compost to enrich your garden beds.
Key Takeaways
- Composting converts kitchen and yard scraps into a free, nutrient-dense soil amendment for garden beds.
- A healthy compost pile needs a balanced mix of carbon-rich browns and nitrogen-rich greens, plus moisture and air.
- Most home compost bins produce usable compost in two to six months depending on conditions and maintenance.
- Finished compost improves soil structure, water retention, and microbial activity — benefiting nearly every plant type.
- Meat, dairy, and oily foods should be kept out of open compost bins to avoid pests and odors.
Why Composting Is Worth the Effort
Every week, the average American household discards pounds of fruit peels, vegetable trimmings, coffee grounds, and cardboard — all of which can be composted rather than landfilled. Composting is the controlled biological decomposition of organic matter into a dark, crumbly material called humus. Applied to garden beds, humus feeds soil microbes, improves drainage in clay soils, and helps sandy soils retain moisture.
The payoff extends beyond your garden. Diverting organic waste from landfills reduces methane emissions — a potent greenhouse gas produced when organic matter breaks down without oxygen underground. Composting at home is one of the most tangible, low-effort ways a household can close that loop.
If you're working toward healthier planting beds, composting pairs naturally with other foundational practices. See our guide to soil health to understand how compost fits into a broader strategy for building long-term growing success.
What you will need
What to Compost — and What to Leave Out
A successful compost pile runs on the right balance of two broad material types:
- Browns (carbon-rich): dried leaves, cardboard torn into pieces, paper bags, straw, wood chips, and paper egg cartons.
- Greens (nitrogen-rich): vegetable and fruit scraps, coffee grounds and paper filters, tea bags (remove staples), fresh grass clippings, and plant trimmings.
A general rule of thumb is to aim for roughly two parts browns to one part greens by volume. Too many greens and the pile turns slimy and smells; too many browns and decomposition slows to a crawl.
Keep These Out of Your Compost Bin
Meat, fish, dairy, cooked foods with oils, and pet waste should never go into an open backyard compost bin. These materials decompose poorly in aerobic conditions, produce strong odors, and attract rodents and other pests. Stick to raw fruit and vegetable scraps, coffee grounds, and plant-based yard waste for trouble-free composting.
What to keep out of an open backyard bin: meat, fish, bones, dairy products, oily or greasy foods, and pet waste. These materials can attract rodents and create foul odors. If you want to process cooked food waste, a sealed tumbler-style bin or an indoor worm bin (vermicomposting) offers a safer alternative.
Setting Up and Maintaining Your Compost System
Getting started takes about 30 to 60 minutes and very few tools. Use the checklist below to prepare, then follow the steps to build and maintain your first pile.
Compost bin or enclosure
Contains the pile, retains heat, and keeps pests out while decomposition occurs.
Garden fork or compost aerator
Used to turn and aerate the pile, which speeds up decomposition significantly.
Small countertop collection container
Holds daily kitchen scraps conveniently until you're ready to add them to the outdoor bin.
Garden hose or watering can
Used to moisten the pile if it dries out — compost needs the dampness of a wrung-out sponge.
Choose and position your bin
Place your bin or enclosure in a spot with partial shade — full sun dries the pile out too quickly, while deep shade slows microbial activity. Ensure the base sits on bare soil rather than concrete so earthworms and beneficial organisms can migrate in from below. Leave enough clearance to comfortably turn the pile from at least one side.
Build your first layer
Start with a 4- to 6-inch base layer of coarse browns — wood chips, straw, or torn cardboard — directly on the soil. This base improves airflow at the bottom of the pile. Add a 2- to 3-inch layer of greens on top, then cover with another layer of browns. Think of it like making lasagna: alternating layers help the pile decompose evenly.
Maintain moisture and airflow
Check the pile's moisture level weekly by grabbing a handful and squeezing. It should feel like a damp sponge — moist but not dripping. If it's dry, water it lightly. If it's soggy and compacted, add a layer of dry browns and turn the pile to reintroduce air. Microbes need oxygen to thrive, so a pile that's never turned will decompose slowly and may develop odors.
Turn the pile regularly
Use a garden fork to turn the entire pile every one to two weeks, moving material from the outer edges into the center where temperatures are hottest. Regular turning is the single biggest factor in speeding up decomposition. A pile that is turned weekly can produce finished compost in as little as two months; an unturned pile may take six months or longer.
Recognize and use finished compost
Finished compost is dark brown to black, crumbles easily in your hand, smells like rich forest earth, and contains no recognizable food or plant pieces. If only the center of the pile has finished, screen out the unfinished material and return it to a fresh pile. Apply finished compost to garden beds at 2 to 3 inches deep, mixing it into the top 6 inches of existing soil for best results.
Once compost is finished — dark, crumbly, earthy-smelling, with no recognizable food pieces — it's ready to use. Work 2 to 3 inches into the top layer of garden beds before planting, or use it as a top dressing around established plants. It pairs especially well with a layer of mulch on top; our mulching guide explains how the two work together to regulate soil temperature and retain moisture.
Finished compost also enriches the growing medium in containers. If you're gardening on a patio or balcony, see our container gardening overview for tips on blending compost into potting mixes effectively.

Author
Home & Garden Editorial Team
Home & Garden Editorial Team is the collective byline for our editorial team and contributor network. Articles published under this byline or an editorial pen name are researched, written, and reviewed according to our editorial standards for clarity, consistency, and independence before publication.
View all articles →