
Drywall Patching: From Nail Holes to Fist-Sized Gaps
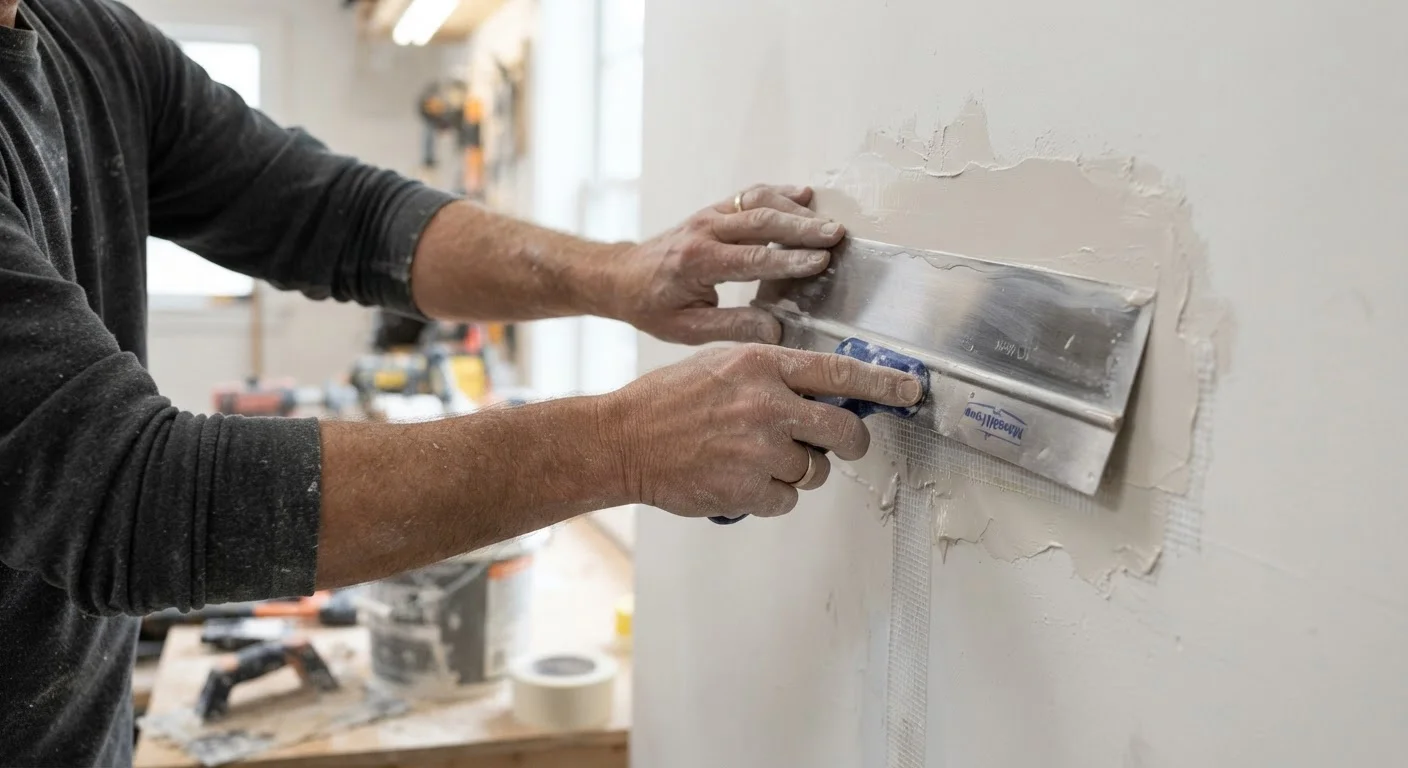
Photo credit: FaqBulletin.com | Information Made Easy
In this article
Learn the right technique for every drywall repair size — from simple spackle fixes to backing-board patches that hold for years.
Key Takeaways
- Hole size determines which repair method to use — spackle, self-adhesive patch, or backing board.
- Joint compound must dry fully between coats; rushing causes cracks and shrinkage.
- Feathering the edges of each coat is what makes a patch disappear after painting.
- Larger holes require a solid backing structure — a floating patch will flex and crack over time.
- Texture matching is often the hardest part; test your technique on cardboard before touching the wall.
Why Method Matters as Much as Materials
Drywall repair fails most often not because of bad materials, but because the wrong technique was applied to the hole size. Spackle alone cannot bridge a 3-inch gap — it will crack as it shrinks. A mesh patch without enough compound coats will show a ghost outline through paint for years. Understanding the logic behind each method helps you make smart decisions even when the damage doesn't match a tidy category.
Drywall is a gypsum plaster core sandwiched between two layers of paper. Repairs work by recreating that structure: the patch material replaces lost gypsum, the tape or mesh prevents cracking across seams, and layered compound feathered over a wide area creates the illusion that no patch ever existed. Skipping any of those elements produces visible or fragile results.
It's worth noting that some DIY beliefs make drywall repairs harder, not easier — see our guide to common home improvement myths for pitfalls to avoid before you start.
What you will need
Tools and Materials You'll Need
The list below covers all three repair scenarios. If you're only patching nail holes, you can skip the backing board and drywall saw items. Gather everything before you start — stopping mid-repair while compound dries on your knife wastes both materials and time.
Spackle or lightweight joint compound
Fills small holes and surface imperfections; joint compound is preferred for larger repairs requiring multiple coats.
Putty knife (3-inch and 6-inch)
Applies and feathers compound into the wall surface for a smooth, invisible finish.
Self-adhesive fiberglass mesh patch
Bridges medium-sized holes (up to about 6 inches) without requiring a separate backing board.
Drywall saw or utility knife
Cuts damaged drywall into a clean, even shape to simplify the backing-board repair method.
Backing board (wood furring strip or scrap lumber)
Provides structural support behind larger patches so the new drywall piece doesn't flex or crack.
Drywall screws and a drill
Secures both the backing board and the patch piece firmly inside the wall cavity.
Sandpaper (120- and 220-grit)
Smooths dried compound coats progressively until the patch is flush with the surrounding wall.
Drywall primer
Seals the porous patch surface so finish paint adheres evenly and doesn't flash.
Step-by-Step Repair Instructions
Follow these steps in order. The most important discipline is patience between coats — every shortcut taken in drying time shows up later as a crack or uneven surface after paint goes on.
Assess the hole and choose your method
Match the repair technique to the hole size before gathering materials:
- Nail holes and dents (under 1/2 inch): A single application of spackle or lightweight joint compound, allowed to dry, then sanded flush.
- Small holes (1/2 inch to 4 inches): A self-adhesive fiberglass mesh patch pressed over the hole, followed by two to three coats of joint compound.
- Large holes (4 inches to fist-sized and beyond): Cut the damaged area into a clean rectangle, install backing boards inside the wall cavity, cut a matching drywall piece, screw it in, and tape and mud the seams.
Scan for hidden utilities
Run a stud finder with AC wire detection across the repair area. Check for plumbing sounds by pressing your ear to the wall. Mark any stud locations with painter's tape — you may want to anchor backing boards to them.
[important_callout]Prepare the damaged area
For small holes, clean away any loose paper or crumbled gypsum around the edges with a utility knife. For larger holes, use a drywall saw to cut the damaged section into a neat rectangle. Straight, clean cuts make it much easier to fit a patch piece and tape the seams smoothly.
Install backing boards (large holes only)
Cut two furring strips or scrap lumber pieces several inches longer than the hole's height. Slide each board into the wall cavity so it straddles the left and right edges of the opening, half behind the existing drywall. Hold each board firmly against the back of the drywall and drive two drywall screws through the existing wall surface into the board to clamp it in place. The board should now act as a ledger for your patch piece.
Apply the patch material
For mesh patches: Peel and press the adhesive patch centered over the hole. Press firmly around all edges so no gaps remain between mesh and wall.
For cut-out repairs: Cut a drywall piece to fit snugly inside the opening. Screw it into the backing boards with drywall screws every 6–8 inches. Apply fiberglass mesh tape over all four seams.
Apply joint compound in thin coats
Load your 6-inch putty knife with a modest amount of joint compound and spread it over the patch in a thin, even layer, pressing it firmly into the mesh. Extend the compound a few inches beyond the patch edges. Allow to dry completely — the compound will turn from gray to bright white. Apply a second coat slightly wider than the first, feathering the edges with light diagonal strokes. A third coat is often needed for larger repairs.
[warning_callout]Sand smooth and finish
Once the final coat is fully dry, sand with 120-grit sandpaper to knock down ridges, then finish with 220-grit for a smooth surface. Wipe away dust with a slightly damp cloth. Apply drywall primer, let dry, then match your wall texture (skip, orange peel, or smooth) before painting.
[tip_callout]Texture Matching: The Final Challenge
A perfectly smooth patch on an orange-peel wall is almost as visible as the original hole. Match the existing texture before painting. For orange peel, a light spray from an aerosol texture can applied at arm's length reproduces the pattern well — practice on cardboard first and adjust your distance and spray duration. For skip trowel or knockdown textures, thin a small amount of joint compound with water to a creamy consistency, apply loosely with a wide knife, let it partially set, then flatten the peaks lightly. For truly smooth walls, additional finish sanding with 220-grit and a final skim coat of all-purpose compound may be needed. Always prime the patched area before applying finish paint to prevent uneven absorption.

Author
Home & Garden Editorial Team
Home & Garden Editorial Team is the collective byline for our editorial team and contributor network. Articles published under this byline or an editorial pen name are researched, written, and reviewed according to our editorial standards for clarity, consistency, and independence before publication.
View all articles →