
Reading a Tape Measure Without Getting It Wrong
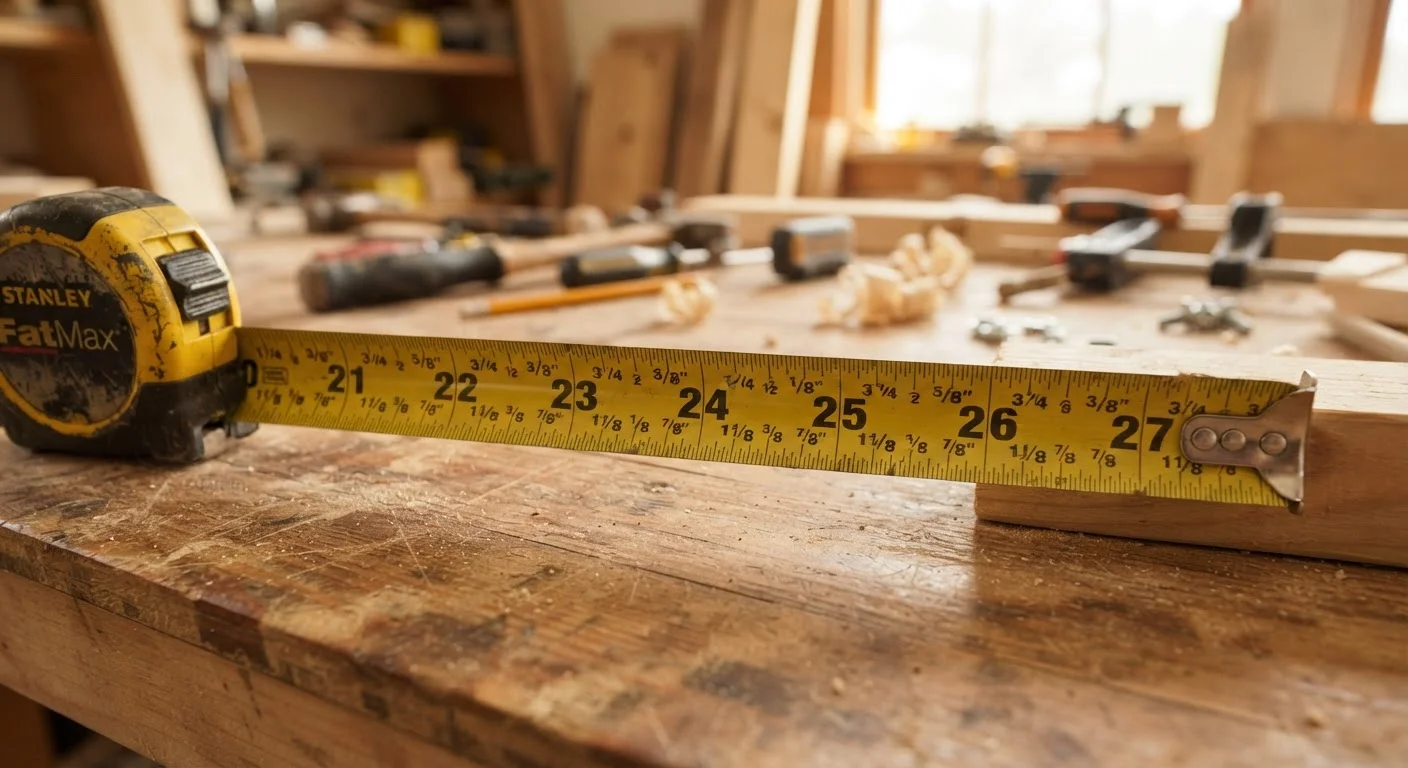
Photo credit: FaqBulletin.com | Information Made Easy
In this article
Fractional inch markings trip up a lot of first-time DIYers. Learn to read every line on a standard tape measure confidently and accurately.
Key Takeaways
- Line height tells you the fraction: taller lines represent larger fractions of an inch.
- Every inch is divided into 16 equal parts on a standard U.S. tape measure.
- Always read the nearest whole inch first, then count the remaining small lines.
- The black diamond marks at every 19.2 inches are for spacing engineered lumber — not general measurement.
- Hooking the end tab correctly — tight for inside measures, loose for outside — prevents a built-in error.
Why Fractional Markings Confuse People
A tape measure crams a lot of information into a narrow strip of metal. The problem isn't that the lines are complicated — it's that most people were never explicitly taught what each line height means. Without that key, the markings look like visual noise.
On a standard U.S. tape, each inch is split into 16 equal slices, each worth 1/16 of an inch. The lines are printed at four different heights to signal which fraction they represent:
- Tallest line (same height as the number): whole inch
- Second-tallest line: 1/2 inch (8/16)
- Third-tallest line: 1/4 inch (4/16) and 3/4 inch (12/16)
- Shortest lines: 1/8-inch intervals and the 1/16-inch marks between them
Once you see line height as a code for fraction size, the strip of metal becomes readable at a glance.
Metric Tapes Work Differently
If your tape shows centimeters and millimeters instead of inches, each centimeter is divided into 10 millimeter increments — no fractions required. Many imported tapes include both scales on opposite edges. Make sure you and anyone else on the project are reading from the same side.
How to Read Any Measurement in Three Steps
Use this reliable process every time and you will stop second-guessing yourself mid-project.
- Identify the last whole-inch mark to the left of your point. That number is the whole-inch portion of your measurement. If the edge lands exactly on an inch mark, you're done.
- Count the small lines from that inch mark to your point. Each tiny line is 1/16 inch. Count them carefully — it helps to whisper the fraction as you go: one-sixteenth, two-sixteenths (= one-eighth), three-sixteenths, and so on.
- Simplify the fraction if needed. Six-sixteenths becomes three-eighths; eight-sixteenths becomes one-half. Write the simplified version to avoid confusion later.
For example, if your material ends two lines past the 7-inch mark, your measurement is 7 and 2/16 inches, which simplifies to 7-1/8 inches. That's the number you'd mark or communicate to someone cutting lumber for you.
Use a Pencil, Not Your Thumb
Instead of holding your thumb at the measurement point and then moving the tape, mark the spot with a sharp pencil the moment you read it. Thumbs shift; pencil marks don't. For boards, a small V-shaped tick mark is more precise than a straight line because it gives you an exact point to align your saw blade.
The Hook, the Case, and Other Features Worth Knowing
The moving metal tab at the tape's end is one of the most misunderstood features in any toolbox. Its slight back-and-forth movement is not a manufacturing defect — it compensates for the tab's own thickness so that outside and inside measurements are both accurate. Hook it over an edge for an outside pull; press it flat against a surface for an inside push.
Inside measurements — say, the width of a doorframe or a cabinet opening — present a secondary challenge: the tape body itself takes up space. Check the label printed on the tape case (commonly 3 inches). Extend the tape until it touches the far side of the opening, read that number, and add the case length for your true dimension.
Two other markings appear on most U.S. tapes:
- Red numbers every 16 inches: Stud-spacing reference for standard wall framing.
- Black diamonds every 19.2 inches: Engineered lumber spacing reference. Ignore these for general home tasks.
Just as reading a nutrition label becomes straightforward once you understand each row's purpose — much like decoding a nutrition facts label — tape measure markings make immediate sense once you understand the hierarchy. And just as knowing your limits matters in DIY car maintenance, knowing how to measure accurately before cutting saves wasted material and rework.
Common Mistakes and How to Avoid Them
Even experienced DIYers make a handful of recurring measurement errors. Recognizing them in advance is half the battle.
Parallax error is the most common: reading the tape at an angle rather than directly above the measurement point shifts your line of sight and makes the tape appear to land on the wrong mark. Always crouch or position yourself so your eye is directly over the tape.
Not accounting for the kerf is a woodworking pitfall — a saw blade removes roughly 1/8 inch of material as it cuts. If you're making multiple cuts from one board, mark each piece individually rather than measuring the full length and dividing.
Trusting a worn or kinked tape is another avoidable error. A tape that has been crushed or bent near the hook end may not lie flat and will give a false reading. Keep your tape clean, retract it slowly to avoid kinking, and replace it when the first 6 inches show visible damage.
Frequently Asked Questions

Author
Home & Garden Editorial Team
Home & Garden Editorial Team is the collective byline for our editorial team and contributor network. Articles published under this byline or an editorial pen name are researched, written, and reviewed according to our editorial standards for clarity, consistency, and independence before publication.
View all articles →