
Tackling a Bathroom Refresh Without Moving Plumbing
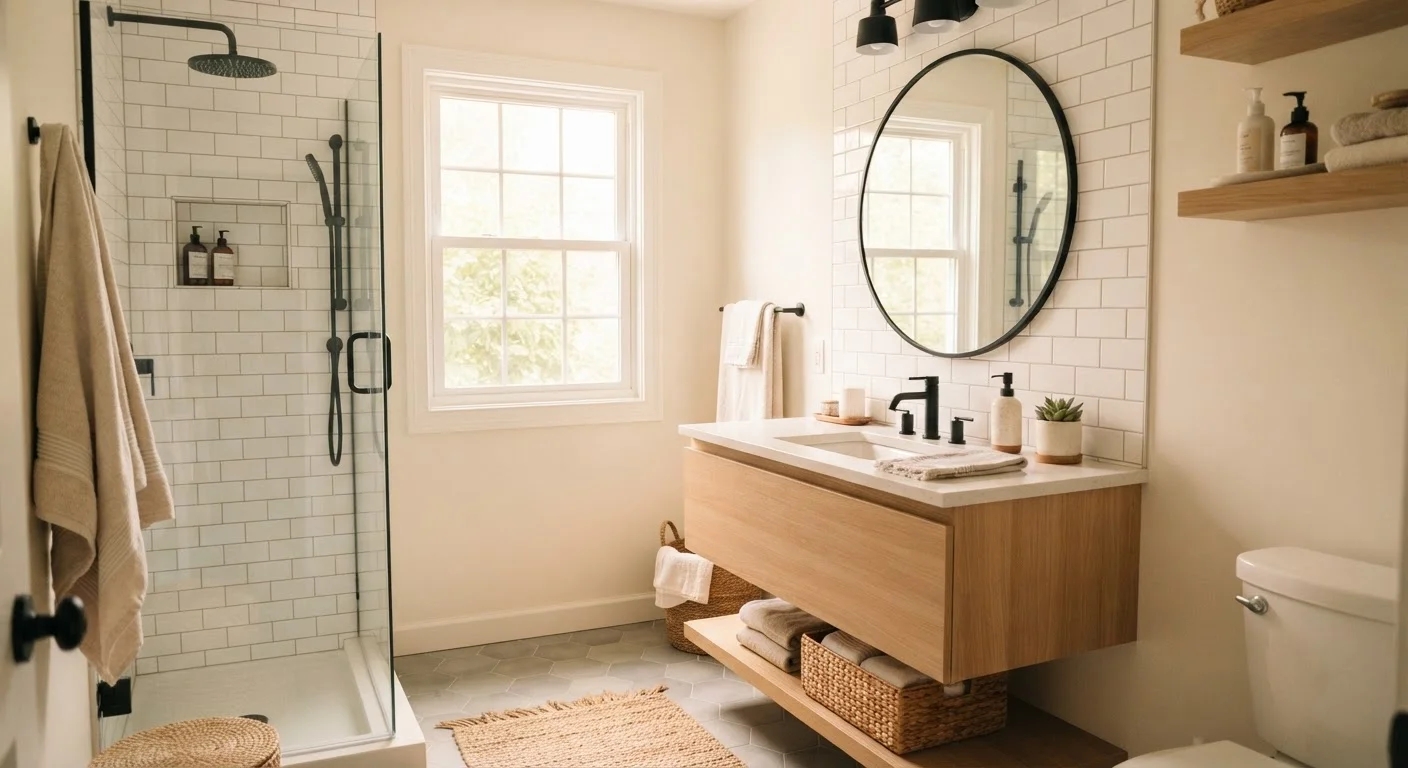
Photo credit: FaqBulletin.com | Information Made Easy
In this article
A full bathroom transformation doesn't require rerouting pipes. Explore layout-preserving upgrades that make a real visual and functional difference.
Key Takeaways
- Moving plumbing is expensive and disruptive — most impactful bathroom upgrades don't require it.
- Swapping fixtures, hardware, lighting, and mirrors delivers dramatic visual change at lower cost.
- Surface-level updates like paint, caulk, and grout refresh can transform a dated bathroom quickly.
- Storage and organization improvements add real daily function without any structural work.
- Knowing which tasks are DIY-friendly and which need a licensed pro protects your budget and safety.
Why Keeping Plumbing in Place Is the Smart Starting Point
Relocating a toilet, sink, or tub drain requires opening walls or floors, rerouting supply and waste lines, and — in most jurisdictions — pulling permits and hiring a licensed plumber. That work can easily cost several thousand dollars before a single aesthetic improvement is made. For the vast majority of homeowners, the smarter play is to design a refresh around the existing plumbing footprint.
This approach isn't a compromise. The fixtures themselves are anchoring points around which lighting, storage, color, and surface materials can be dramatically reimagined. The toilet stays where it is; the shower valve stays on its wall. What changes is everything your eye actually lands on.
Before diving in, it's worth understanding which tasks are genuinely DIY-friendly and which require a licensed trade. See our guide on permits, codes, and licensed trades for a plain-language breakdown of when professional involvement is legally and practically required.
What you will need
What You'll Need Before You Start
Gather your materials and tools before beginning any work. Having everything on hand prevents mid-project trips to the hardware store that stretch a weekend project into a week.
Power drill and bits
Needed for removing and installing mirrors, towel bars, shelving, and light fixtures.
Caulk gun and silicone caulk
Used to reseal around the tub surround, sink basin, and toilet base for a clean, watertight finish.
Grout saw or oscillating tool
Removes deteriorated or discolored grout before re-grouting tile joints.
Stud finder
Locates wall studs so shelves and heavy fixtures are anchored securely.
Paint roller and brushes
Applies moisture-resistant paint to bathroom walls and ceiling.
Adjustable wrench
Tightens and removes faucet connections and supply lines when swapping fixtures.
Step-by-Step: Completing Your Bathroom Refresh
Follow these steps in order. Prep and surface work come first so that finish installations don't get damaged by subsequent messy tasks.
Clear and Clean the Entire Space
Remove everything from the bathroom: towels, toiletries, décor, and any removable storage units. Give every surface a thorough clean, paying close attention to grout lines, caulk seams, and the areas behind and beneath fixtures. You need to see the room's true baseline condition before deciding what to replace versus refresh.
Repair Caulk and Regrout Tile
Cut out old, discolored, or cracked caulk around the tub, shower pan, and sink using a utility knife or oscillating tool. Apply fresh mold-resistant silicone caulk in a steady bead, smooth with a wet finger, and allow it to cure fully per the manufacturer's instructions — typically 24 hours. For tile grout that is stained or crumbling, use a grout saw to remove the old material, vacuum the joints clean, and apply new pre-mixed or powdered grout with a float. Wipe haze with a damp sponge before it hardens.
Paint Walls and Ceiling
Choose a paint rated for high-humidity spaces — eggshell or satin finishes resist moisture and are easier to wipe clean than flat paint. Apply painter's tape to trim, the top edge of your tile, and around fixtures. Roll the ceiling first, then walls. Two coats typically provide even coverage. Ensure the bathroom is well ventilated during and after painting.
Swap Hardware, Fixtures, and the Mirror
Towel bars, toilet paper holders, robe hooks, and faucet handles are among the easiest swaps in any room. Most require only a screwdriver and an adjustable wrench. When replacing a faucet, shut off the water supply valves under the sink before disconnecting lines. A new mirror — particularly a larger one — can dramatically change the perceived size and light level of the room. Secure mirrors into studs or use appropriate drywall anchors rated for the mirror's weight.
Upgrade the Vanity Lighting
Turn off the circuit breaker for the bathroom before touching any wiring. Replace the existing light fixture with one that fits the same electrical box and mounting footprint — this avoids patching drywall. Side-mounted vanity bars reduce face shadows better than ceiling-only lighting. If you are uncomfortable working with household wiring, hire a licensed electrician; this is not a step to improvise. Common home improvement myths include the belief that basic electrical swaps are always DIY-safe — they often are, but only when done correctly and with the power fully off.
Install New Flooring Over Existing (If Applicable)
If your existing floor is level and structurally sound, luxury vinyl plank or peel-and-stick vinyl tile can often be laid directly over it without removing the old material — keeping costs and disruption low. Cut pieces to fit around the toilet base and vanity using a utility knife and straightedge. Leave an expansion gap at walls per the product instructions, and finish edges with caulk or threshold strips. Note that adding floor height may affect the toilet base fit; check clearances before purchasing materials.
Sequence Matters: Messy Work First
Always complete demolition, caulking, grouting, and painting before installing new fixtures or hardware. Dust, splatter, and moisture from early-stage work will damage finished surfaces you install too soon. Working in the right order protects your investment and reduces re-do time.
Finishing Touches: Storage and Organization
Once the visual updates are complete, turn to function. A refreshed bathroom that's cluttered feels unfinished. Floating shelves mounted into studs, over-toilet cabinet units, and drawer organizers inside the vanity all add meaningful capacity without altering the room's plumbing or layout footprint.
Consistent, simple storage vessels — matching canisters, drawer dividers, small baskets — make daily routines faster and keep surfaces clear. Our room-by-room decluttering checklist includes a dedicated bathroom section to help you decide what stays and what goes before you add new organizers.
Don't overlook the back of the door: a sturdy over-door hook rack adds towel and robe storage in a spot that costs nothing in floor space. In tight bathrooms especially, vertical storage is almost always underutilized.
Mounting Shelves Into Tile Requires Care
Drilling into ceramic or porcelain tile without the correct bit — a carbide-tipped or diamond-tipped tile drill bit — causes cracking. Mark your drill point with painter's tape to prevent the bit from wandering. Start at low speed without a hammer setting until you're through the tile, then switch to standard drilling into the wall material beneath.

Author
Home & Garden Editorial Team
Home & Garden Editorial Team is the collective byline for our editorial team and contributor network. Articles published under this byline or an editorial pen name are researched, written, and reviewed according to our editorial standards for clarity, consistency, and independence before publication.
View all articles →