
Everything That Goes Into a Kitchen Remodel — and in What Order
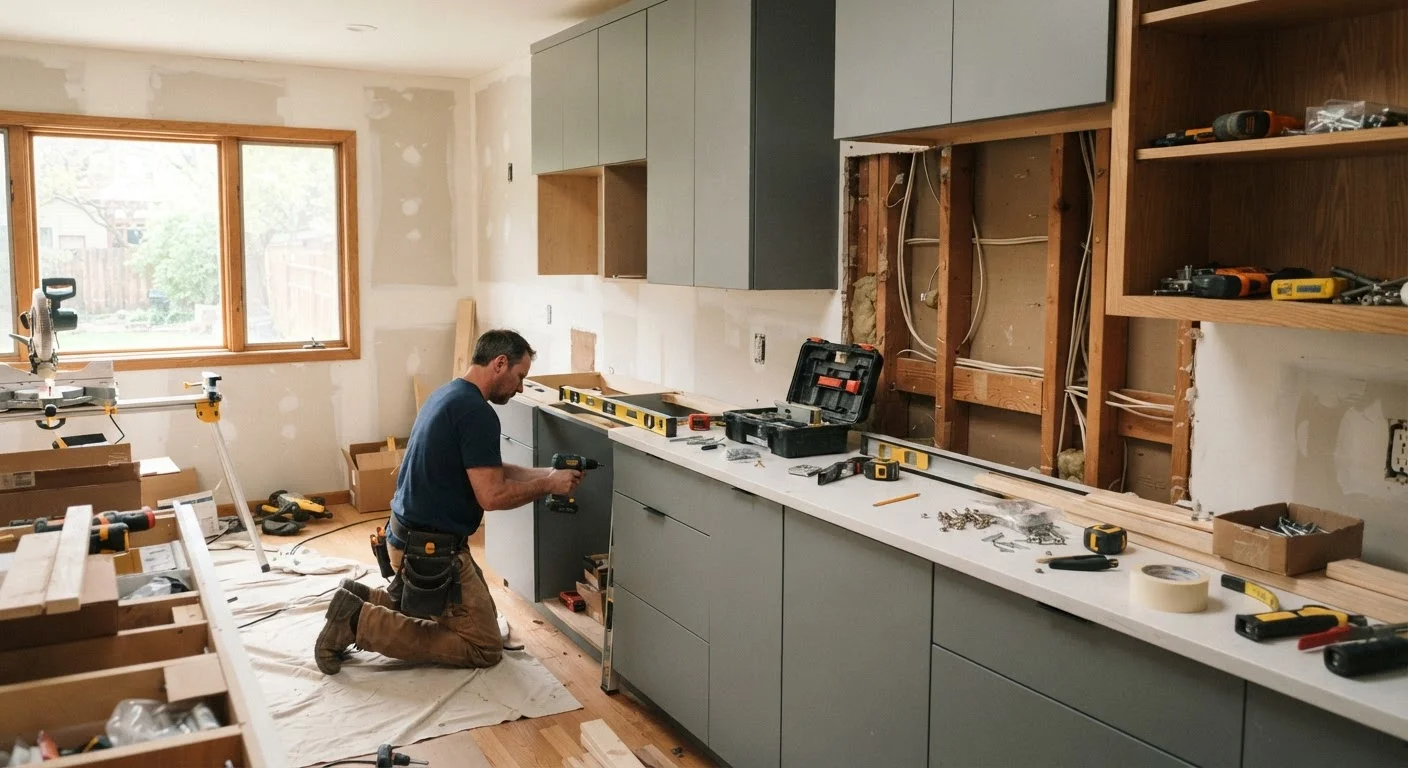
Photo credit: FaqBulletin.com | Information Made Easy
In this article
From demo day to the final cabinet pull, understand the full scope of a kitchen renovation and why sequencing the work correctly matters.
Key Takeaways
- Sequencing trades correctly prevents expensive rework and scheduling conflicts.
- Permits are required for most electrical, plumbing, and structural kitchen changes.
- Rough-in work — framing, electrical, plumbing — must finish before walls are closed.
- Cabinets go in before countertops; flooring timing depends on your cabinet installation method.
- Final inspections protect your home's resale value and confirm code compliance.
Why Sequence Is Everything in a Kitchen Remodel
A kitchen renovation touches nearly every system in your home — electrical, plumbing, HVAC, structure, and finishes — all within a single room. Get the order wrong and you will find yourself tearing out freshly tiled floors to let a plumber reach a drain line, or repainting walls after cabinet installation scuffed them. Sequencing isn't a contractor preference; it's the logic that keeps a project moving without expensive backtracking.
The general rule is simple: work from the bones outward. Structural and mechanical systems come first, finishes come last. Every decision you defer to mid-project — where exactly does the island sit? how many circuits does the range need? — adds time and money. That's why thorough planning before a single tool comes out is the most productive day you'll spend on any remodel.
~3–6 weeks
Typical full kitchen remodel timeline
General contractor estimates vary widely based on scope; complex projects with layout changes can run longer.
6–12 weeks
Common cabinet and appliance lead times
Semi-custom and custom cabinetry orders placed before demo day help prevent costly project stalls.
3 or more
Separate permit inspections often required
Rough plumbing, rough electrical, and final inspections are typically separate visits in most U.S. jurisdictions.
Planning, Permits, and Design Sign-Off
Before demolition, three things need to be resolved: a complete design, a material list, and your permit approvals. Skipping any one of these stalls the project downstream.
Nail Down the Design First
Measure your existing kitchen precisely — window and door locations, ceiling height, and the positions of existing plumbing and electrical panels. Even minor layout changes, like moving a sink two feet, trigger permit requirements in most jurisdictions. Use your measurements to finalize cabinet layouts, appliance specs, and countertop dimensions. Order cabinets and appliances as early as possible; lead times of six to twelve weeks are common.
Pull Your Permits
Electrical work, plumbing modifications, and structural changes — including removing a wall — almost always require permits. See our plain-language guide to permits and licensed trades for a full breakdown of when approvals are required and what inspections look like. Skipping permits can complicate home sales and void homeowners insurance claims.
Order your cabinets and appliances the same week you submit permit applications — not after approval arrives. Permit reviews often take two to four weeks, matching common lead times.
Aligning these timelines means materials arrive close to when you actually need them, preventing both storage headaches and costly project stalls.
Before your plumber and electrician do rough-in work, mark every outlet, switch, and fixture location on the studs with painter's tape. Walk the room yourself and confirm placement against your final design.
Moving an outlet or adding a circuit after drywall is closed costs significantly more than relocating a tape mark before the walls are sealed.
Demolition and Rough-In Work
Once permits are in hand, demolition can begin. Remove appliances, then cabinets, then flooring (if replacing it). Protect adjacent surfaces with plastic sheeting and make sure utilities — gas, water, electricity to the kitchen circuit — are shut off before any walls open.
Rough-In Order
- Framing: Any wall additions, soffit removal, or load-bearing modifications happen first. A structural engineer's sign-off is required before removing load-bearing walls — this is not a DIY call.
- Rough plumbing: New drain lines, supply lines, and gas stub-outs are roughed in while walls are open. Your plumber schedules an inspection before walls close.
- Rough electrical: New circuits for the range, refrigerator, dishwasher, and GFCI outlets are run. The National Electrical Code specifies dedicated circuits for major appliances — your electrician knows these requirements.
- HVAC: Duct extensions or range-hood venting penetrations happen at this stage.
- Insulation and drywall: Only after all rough-in inspections pass do you insulate and hang drywall. Closing walls before inspection means opening them again.
Drywall finishing — taping, mudding, and sanding — follows. Prime and paint walls before cabinets go in; it is significantly easier to cut in around a bare wall than around installed cabinetry.
Cabinets, Countertops, and Flooring
With painted walls and a clean subfloor, the kitchen starts to take shape. The order here has its own logic.
Cabinet Installation
Upper cabinets go in before base cabinets — installers need clear floor space to set ladders and avoid damaging base units. Cabinets must be level and plumb; shims correct for uneven walls and floors. Have your cabinet layout drawing on-site so every unit lands in its planned location before fastening.
Countertop Templating
Stone and solid-surface countertops cannot be templated until base cabinets are fully installed and confirmed level. The fabricator visits, measures the exact field dimensions, and typically returns two to three weeks later for installation. Plan your project schedule around this gap.
Flooring Timing
There are two schools of thought: install flooring before cabinets (easier to achieve a seamless look, but you're covering material under toe kicks) or after (less waste, but requires careful scribe work at cabinet edges). Either approach is valid — what matters is deciding before ordering materials so your quantities are accurate. Tile requires a backer board substrate; hardwood and LVP have their own subfloor flatness requirements. Confirm with your flooring installer before the subfloor is finalized.
Finishing Touches and Final Inspections
With cabinets and countertops in place, the finish trades return to complete their work.
- Plumbing trim-out: Sink, faucet, dishwasher connections, and garbage disposal are set after countertops are installed.
- Electrical trim-out: Outlets, switches, under-cabinet lighting, and the range hood are wired and covered. Your electrician schedules the final electrical inspection.
- Appliance installation: Built-in appliances like the range, refrigerator, and dishwasher slide into their final positions after flooring is complete.
- Hardware and accessories: Cabinet pulls, drawer slides, and interior organizers go on last to avoid scratches during other work. For ideas on organizing the newly cleared space, the room-by-room decluttering checklist offers a practical starting framework.
- Touch-up painting: A final coat addresses any scuffs from installation.
Schedule your final inspections — electrical and plumbing — before considering the project complete. Passed inspections give you documented proof that the work meets code, which matters when you sell or insure the home.
One common myth worth addressing: many homeowners assume a remodel that looks finished is finished. Our guide to home improvement myths covers why skipping final inspections and other shortcuts can create expensive problems later. A kitchen remodel done in the right order is a significant investment — sequencing it correctly makes sure that investment holds.

Author
Home & Garden Editorial Team
Home & Garden Editorial Team is the collective byline for our editorial team and contributor network. Articles published under this byline or an editorial pen name are researched, written, and reviewed according to our editorial standards for clarity, consistency, and independence before publication.
View all articles →