
Why That Grout Keeps Cracking — and What Actually Fixes It
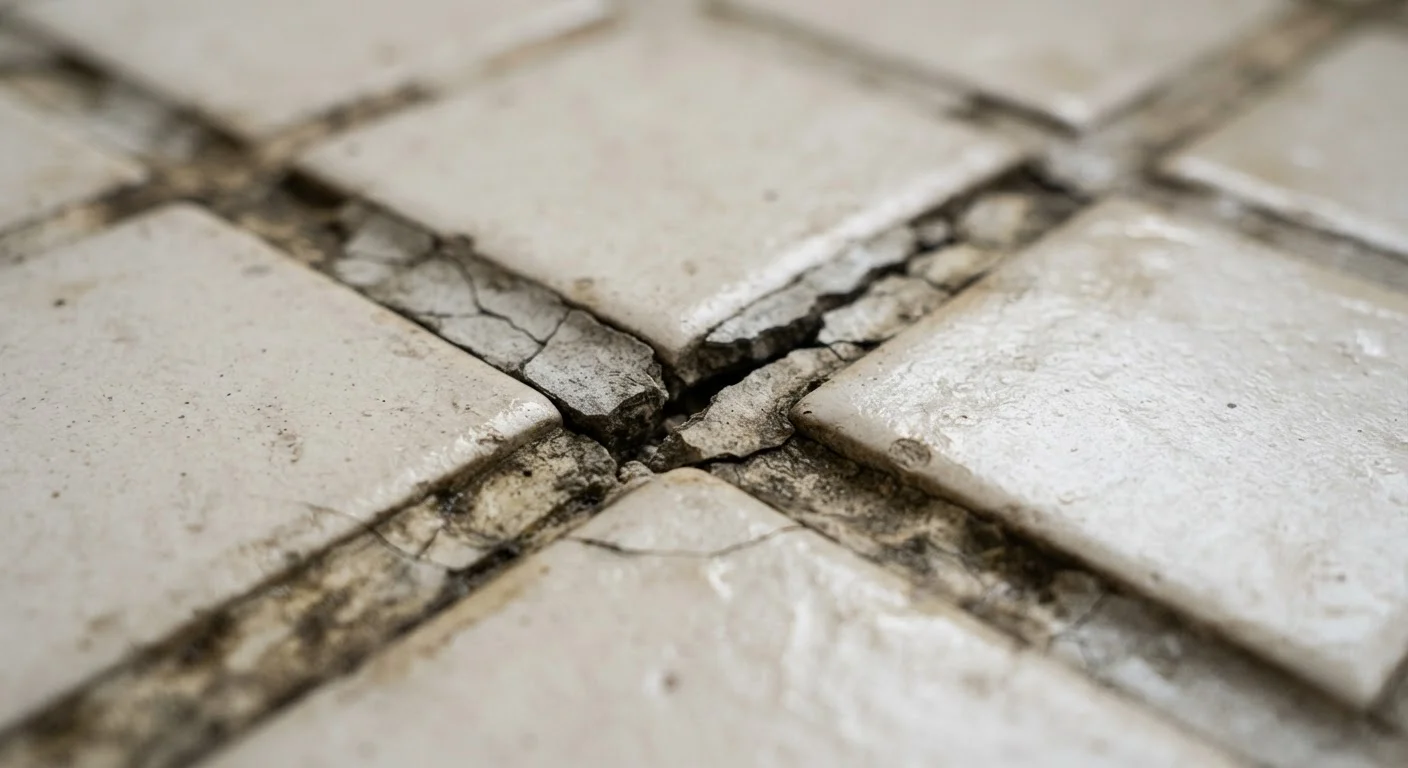
Photo credit: FaqBulletin.com | Information Made Easy
In this article
Cracked grout is rarely just cosmetic. Understand the structural and moisture reasons behind recurring cracks before reaching for the grout bag.
Key Takeaways
- Cracked grout is often a symptom of structural movement or moisture problems, not just surface wear.
- Using the wrong grout type for the application is one of the most common and preventable causes of failure.
- Regrouting over existing cracked grout without addressing the root cause guarantees the cracks return.
- Tile substrate flexibility and substrate deflection are the leading structural reasons grout fails repeatedly.
- Proper surface prep and curing time are non-negotiable steps that determine whether a repair lasts.
Why Cracked Grout Is Rarely Just a Surface Problem
Most homeowners reach for a grout pen or bag of pre-mixed filler the moment they spot a crack. That instinct is understandable, but it usually leads to the same crack reappearing within months. Grout does not fail randomly — it fails because something underneath it is moving, flexing, or trapping moisture.
Grout is a rigid material by design. It bonds tile joints together and keeps water out, but it has very little tolerance for movement. When the substrate beneath tiles shifts — whether from seasonal expansion, subfloor bounce, or inadequate mortar coverage — grout is the first thing to break. Think of it as the canary in the coal mine for what is happening below the surface.
Before committing to any repair, examine the pattern of the cracks. Hairline cracks distributed evenly across many joints often point to a curing or mixing issue. Cracks concentrated along a single line or corner, especially diagonal ones, frequently indicate structural movement or a change in substrate material underneath. Wide, recurring gaps along a wall-to-floor joint are almost always a sign that two different surfaces are moving independently — which is exactly why those joints exist and why grout should never be used there.
Regrouting directly over existing cracked grout without removing it first.
Why it happens: It looks faster and easier to apply fresh grout on top of old, and many pre-mixed products seem designed for this. But the old cracked grout provides an unstable base and traps moisture.
Using cement grout in movement joints — corners, wall-to-floor transitions, and changes between different materials.
Why it happens: Movement joints look like ordinary grout joints, so many homeowners and even some contractors fill them the same way. Rigid grout cannot accommodate the independent movement that happens at these junctions.
Failing to check for loose or hollow tiles before regrouting the joints around them.
Why it happens: Attention naturally goes to the visible grout crack rather than the tile itself. But a tile that has lost its mortar bond will continue to flex and will crack fresh grout repeatedly.
Adding too much water when mixing powdered grout to make it easier to spread.
Why it happens: Stiff grout is harder to work with, and adding water seems like a simple fix. In practice, excess water weakens the cured grout significantly, making it more porous and prone to cracking.
Skipping or rushing the curing period by sealing or using the surface too soon.
Why it happens: Once the visual work is done, it is tempting to consider the job finished. Curing is invisible and easy to underestimate.
How to Actually Fix It — and Make It Last
Once you understand what is driving the cracks, the fix becomes much more straightforward. The guiding rule is: never regrout without addressing the root cause first. Doing so is the single most common reason homeowners end up repeating the same repair every year.
~70%
Tile failures linked to installation error
The Tile Council of North America estimates that roughly 70% of tile installation failures are attributable to improper installation practices rather than material defects.
3–5 years
Typical grout lifespan without sealing
Unsealed cement grout in wet areas commonly shows significant deterioration within 3–5 years; proper sealing and maintenance can extend functional life considerably.
Step 1 — Remove the damaged grout completely. Use an oscillating multi-tool or a manual grout saw to clear out all cracked material to a depth of at least 2–3 mm. Grinding over old grout traps moisture and prevents proper adhesion of the new material.
Step 2 — Inspect the substrate. Press on individual tiles around the cracked joint. Any tile that moves, clicks, or sounds hollow has lost its mortar bond and must be re-set before regrouting. If you notice widespread looseness or significant subfloor flex — especially on upper floors — consult a qualified contractor before proceeding. Structural deflection problems are outside the scope of a DIY grout repair.
Step 3 — Choose the right product. Standard cement grout is appropriate for most interior floor and wall tile. Epoxy grout offers superior resistance to staining and moisture in wet areas but requires more careful mixing and application. For movement joints (wall-to-floor, wall corners, changes in material), use a flexible silicone or urethane caulk — never cement grout. Getting this selection wrong undermines everything else.
Silicone Caulk Is Not a Universal Substitute
While flexible caulk is the correct choice for movement joints, it should not be used as a general replacement for grout across field tiles. Caulk is difficult to clean, stains easily in high-traffic areas, and does not provide the structural support that grout delivers between tiles. Use each product only where it is specified.
Step 4 — Mix and apply carefully. Follow the manufacturer's water ratio exactly; too much water weakens the final product. Work in small sections, pack joints fully, and float diagonally across tile faces to avoid pulling grout back out of the joint.
Step 5 — Cure properly. Keep newly grouted surfaces lightly damp for the first 24–72 hours depending on the product type. Avoid foot traffic and moisture exposure until fully cured. Rushing this step is one of the primary reasons otherwise good repairs fail prematurely.
If your cracking is concentrated in a basement bathroom or laundry area, moisture intrusion from outside the structure may be a contributing factor. See our guide to basement waterproofing methods for help diagnosing whether water management needs to be part of your solution.

Author
Home & Garden Editorial Team
Home & Garden Editorial Team is the collective byline for our editorial team and contributor network. Articles published under this byline or an editorial pen name are researched, written, and reviewed according to our editorial standards for clarity, consistency, and independence before publication.
View all articles →