
The Ceiling Water Stain Diagnostic: Tracing the Source Before You Paint
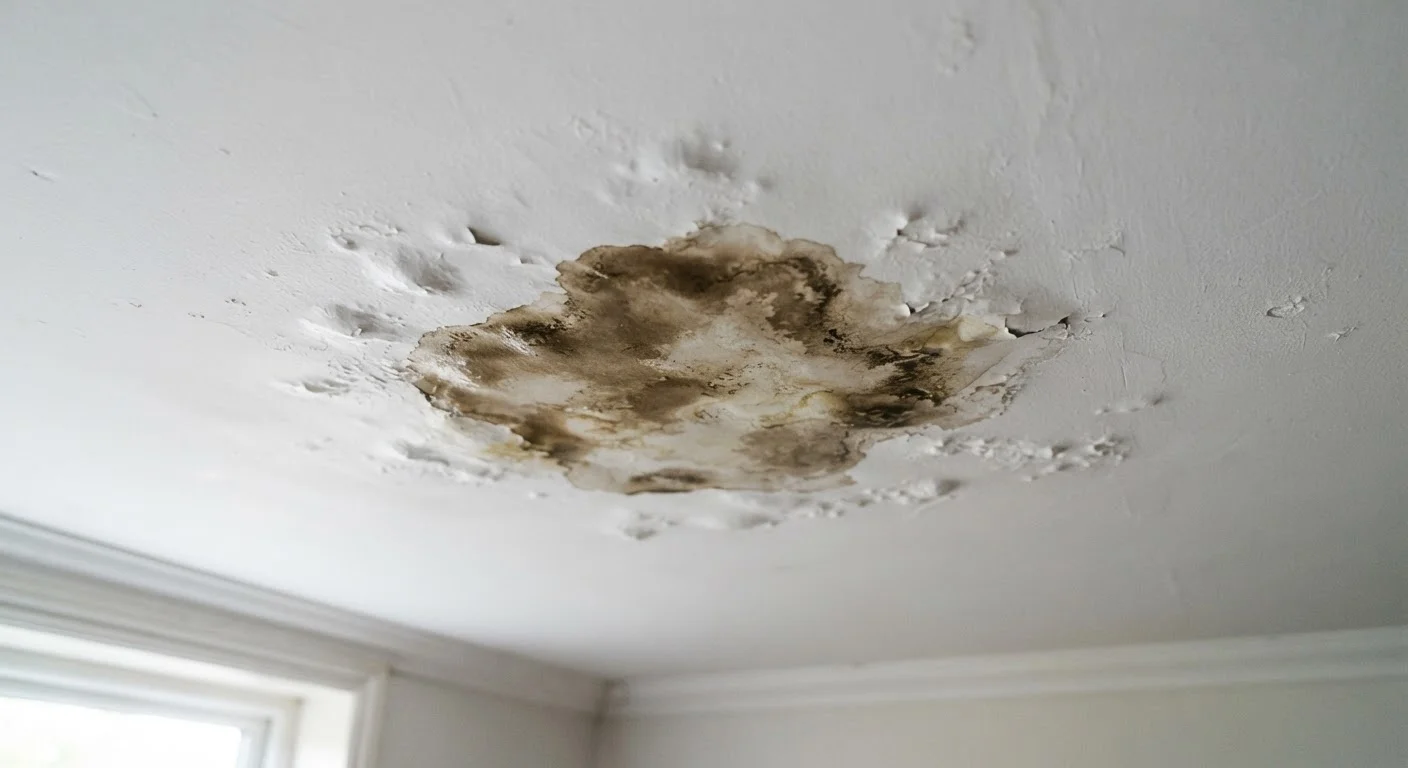
Photo credit: FaqBulletin.com | Information Made Easy
In this article
Painting over a water stain without finding its origin is a temporary fix at best. Follow this diagnostic process to locate the real problem first.
Key Takeaways
- Painting over a water stain without fixing the source will cause the stain to reappear within weeks.
- The leak origin is often several feet away from where the stain appears on the ceiling.
- Moisture meters and a flashlight are the two most useful diagnostic tools for this job.
- Active leaks, mold growth, or sagging drywall warrant a licensed professional, not a DIY patch.
- Confirming the area is fully dry before priming or painting is non-negotiable.
Why You Must Diagnose Before You Paint
A water stain on your ceiling is your home telling you something went wrong — somewhere. The stain itself is dried mineral residue left behind after water traveled through your structure, evaporated, and left its mark. The actual moisture source may be a plumbing joint two floors up, a missing roof shingle, a poorly sealed bathroom fixture, or condensation from an HVAC duct. Painting over the stain seals none of those problems.
Skipping the diagnostic step is one of the home improvement myths that lead to costly repairs. The cosmetic fix looks fine for a few weeks, then the stain bleeds through the new paint — often darker than before — because the underlying moisture never stopped. Worse, hidden dampness can promote mold growth inside your wall or ceiling cavity, where you can't see it.
This checklist walks you through the diagnostic process systematically, so that by the time you pick up a paintbrush, you know exactly what caused the stain and have confirmed it's been resolved.
Don't Ignore Sagging or Soft Drywall
If the ceiling is visibly sagging, feels spongy, or shows signs of structural softening, do not apply pressure or attempt to open it yourself. A saturated ceiling section can collapse unexpectedly. Keep the area clear and contact a licensed contractor before proceeding with any investigation or repair in that zone.
Tools You'll Need for the Diagnostic
You don't need specialized contractor equipment to run a thorough ceiling stain investigation. The tools below cover the majority of residential situations.
Flashlight or headlamp
Illuminate attic spaces, cabinet interiors, and ceiling cavities where you need both hands free to inspect.
Moisture meter (pin-type)
Quantify dampness in drywall, subfloor, or framing to confirm whether moisture is active or the area has fully dried.
Binoculars
Safely examine the roof surface from ground level before deciding whether a closer inspection is needed.
Inspection mirror
See around pipe traps, behind fixtures, and into tight cabinet spaces without removing cabinetry.
Notepad or smartphone
Document findings, measurements, and photographs as you move through each diagnostic step.
Ladder (rated for your weight)
Access the ceiling area directly and, if applicable, the attic hatch safely.
The Diagnostic Checklist
Work through these groups in order. Each step either confirms or rules out a category of cause, narrowing your search before you open any walls or ceilings.
Initial Assessment
Identify What's Above the Stain
Plumbing and Fixture Check
Roof and Exterior Causes
Condensation and HVAC
When to Call a Professional Immediately
If your diagnostic reveals visible mold colonies (not just a small surface spot), active water flow, signs of roof deck rot, or a plumbing leak inside a wall cavity, stop the DIY investigation. These scenarios require licensed professionals — a plumber, roofer, or remediation specialist — to assess and repair safely. Mold in particular carries health considerations that go beyond a cosmetic fix, and improper handling can spread spores through your home.
What Comes After the Diagnosis
Once you've identified and repaired the moisture source and confirmed the area is fully dry — typically after allowing at least 24 to 48 hours of drying time, longer in humid conditions — you can address the cosmetic damage. Apply a shellac- or oil-based stain-blocking primer before any topcoat; latex primers alone rarely prevent bleed-through from water stains.
When choosing a ceiling paint, sheen level matters more than most homeowners realize. Flat finishes hide texture imperfections well but are harder to clean, while a low-sheen eggshell can be more practical in bathrooms or kitchens. Our guide to interior paint finishes explains the trade-offs in detail.
If your investigation reveals moisture is entering from below — for instance, through a basement or crawl space — the problem may be part of a larger water intrusion pattern. Understanding basement waterproofing options can help you evaluate whether the fix is a sealant, a drainage system, or a grading correction.
The stain diagnostic process takes patience, but it's the only approach that produces a lasting result. A ceiling that looks perfect six months from now is worth far more than one that looks perfect today.

Author
Home & Garden Editorial Team
Home & Garden Editorial Team is the collective byline for our editorial team and contributor network. Articles published under this byline or an editorial pen name are researched, written, and reviewed according to our editorial standards for clarity, consistency, and independence before publication.
View all articles →